Embracing the DIY Water Table Trend in Your Space
If you’re looking to add a unique and enchanting element to your home, the DIY water table trend is making waves in the interior design world. These stunning pieces not only serve as functional decor but also evoke a sense of tranquility and creativity. Whether you’re a seasoned DIYer or just starting, incorporating a water table into your space can be a fulfilling project. This guide will explore practical tips, inspiring ideas, and step-by-step instructions to help you create your very own water table.
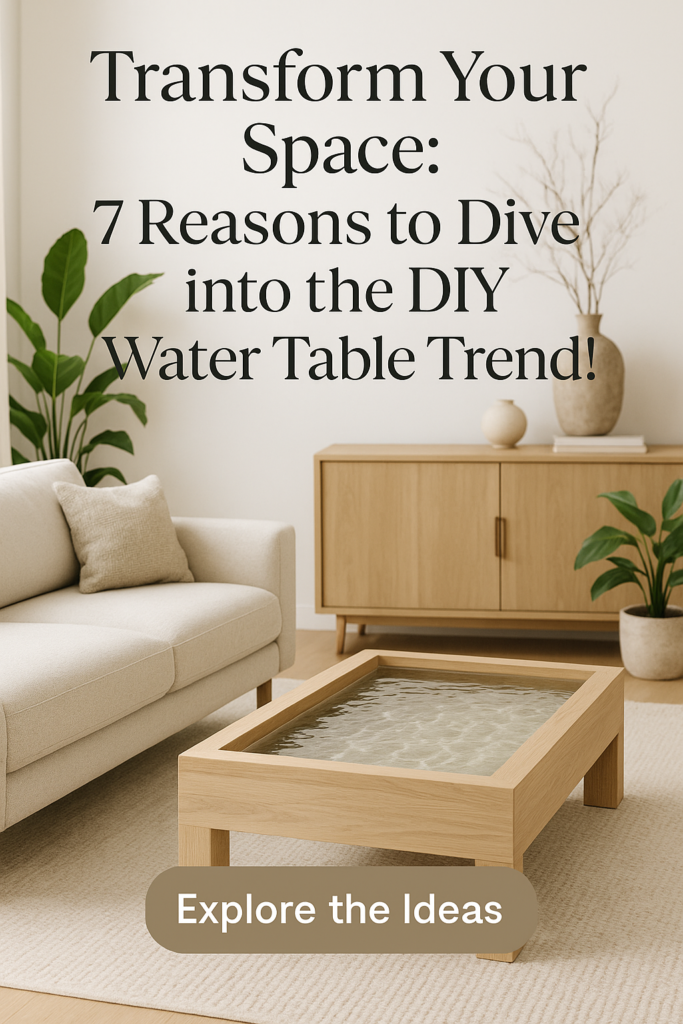
What is a DIY Water Table?
A DIY water table is essentially a tabletop that incorporates water as a design element, often featuring a shallow basin filled with water, decorative stones, and plants. It’s a versatile feature that can be tailored to suit any style, from modern minimalism to rustic charm.
Benefits of Having a Water Table
- Aesthetic Appeal: The reflective surface of water adds depth and elegance to any space.
- Calming Effects: The sound of water can create a serene atmosphere, making it perfect for relaxation areas.
- Versatility: Water tables can be integrated indoors or outdoors, serving as coffee tables, centerpieces, or garden features.
- Interactive Design: They invite interaction, encouraging users to engage with the design through touch or observation.
- Choose Your Location: Decide where you want your water table to be. It can be placed indoors or outdoors, but make sure it’s in a space you’ll enjoy.
- Prepare the Base: If using a wooden table, ensure it’s sealed properly to avoid water damage. You can paint or stain it to match your decor style.
- Install the Water Basin: Securely place the waterproof container on top of the table. Ensure it’s level and stable. If you’re using a pump, consider where the power source will be located.
- Add Water: Fill the basin with water, leaving some space at the top to prevent overflow.
- Decorate: Arrange stones, aquatic plants, or any decorative elements in the water. Consider adding floating candles or LED lights for added ambiance.
- Set Up the Pump: If you’re using a pump for circulation, follow the manufacturer’s instructions for installation. This will help keep the water fresh and prevent stagnation.
- Final Touches: Ensure everything is secure and in place. Test the pump and make any adjustments needed.
How to Create Your Own DIY Water Table
Creating a water table is an exciting project that can elevate your home decor. Follow these steps to make your own:
Materials Needed
– Table Frame: A sturdy base like a wooden or metal table.
– Water Basin: A shallow, waterproof container (e.g., a tub or tray).
– Water Pump: To circulate the water, if desired.
– Decorative Elements: Stones, aquatic plants, or LED lights.
– Sealant: Waterproof sealant for the edges and base.
Step-by-Step Instructions
Inspiring Variations of DIY Water Tables
To spark your creativity, here are some inspiring variations of water tables you can explore:
#### 1. Zen Garden Water Table
– Incorporate sand and small rocks alongside water to create a mini zen garden. This dual-purpose table can be both a tranquil water feature and a peaceful sand garden.
#### 2. Aquatic Plant Table
– Use a larger basin filled with water plants like lilies or water hyacinths. This style promotes biodiversity and can attract local wildlife.
#### 3. Floating Light Table
– Add LED lights beneath the water to create a stunning floating effect at night. This can be especially captivating for outdoor gatherings.
#### 4. Interactive Children’s Water Table
– Create a fun and educational water table for kids with floating toys, small boats, and colorful stones. This promotes sensory play and creativity.
#### 5. Rustic Wooden Water Table
– Use reclaimed wood for a rustic feel. Pair it with natural stones and plants for an organic look.
Tips for Maintaining Your DIY Water Table
To keep your water table looking its best, follow these maintenance tips:
Regular Cleaning: Change the water every few days to prevent algae growth. Clean the basin with mild soap and water.
Check Water Levels: Regularly check the water level, especially in hot weather, and refill as necessary.
Pump Maintenance: If using a pump, clean it periodically to ensure optimal performance.
Seasonal Decor: Change the decorative elements with the seasons to keep your table fresh and engaging.
Conclusion
The DIY water table is a fantastic way to enhance your living space with both beauty and tranquility. Whether you opt for a simple basin or a more elaborate design, the possibilities are endless. By following the steps outlined and embracing your creativity, you can craft a unique centerpiece that reflects your personal style.
So, gather your materials and dive into this inspiring project! Your home will thank you for the refreshing touch. And remember, don’t forget to share your beautiful creations on Pinterest to inspire others in the DIY community!