Hanging curtains can transform a room, adding style and function by enhancing privacy, controlling light, and contributing to the overall decor. Follow these steps to hang your curtains perfectly and choose the right products to make the process easier.
Step 1: Choose the Right Curtains
Before you begin, select curtains that suit your room’s style and your needs. Consider factors like fabric, length, and color. A pair of blackout curtains can be ideal for bedrooms to block out light completely.
Step 2: Measure Your Windows
Measure the width and height of your windows to ensure you buy the correct curtain size. For a fuller look, your curtains should be 1.5 to 3 times the width of the window. Use a measuring tape for accurate measurements.
Step 3: Choose the Right Curtain Rod
Select a curtain rod that complements your curtain style and can support the weight. Extendable rods are versatile and adjustable to fit various window sizes. Consider using a decorative curtain rod for added aesthetic appeal.
- The Kenney Kendall 5/8" Standard Decorative Window Curtain Rod features modern design finial ends
- 5/8" diameter curtain rod adjusts from 28-48" to fit your window and projects 3" from the wall
- For use with light to medium weight curtains in your kitchen, bedroom, dining room, and living room
Step 4: Mark the Position
Mark the spots where you will install the brackets. The brackets should be placed about 4-6 inches above the window frame and extend 3-6 inches beyond the window width on each side. Use a level and a pencil to ensure even placement.
Step 5: Install the Brackets
Drill pilot holes at the marked spots and install the brackets using screws. Ensure the brackets are secure to support the curtain rod and curtains. A cordless drill can make this step quicker and easier.
- Compact, lightweight design fits into tight areas
- High performance motor delivers 300 unit watts out (UWO) of power ability completing a wide range of...
- High speed transmission delivers two speeds (0-450 & 1,500 rpm) for a range of fastening and...
Step 6: Hang the Curtain Rod
Once the brackets are installed, place the curtain rod on them. Ensure the rod is level and adjust if necessary. For heavier curtains, ensure the rod is sturdy and secure. A double curtain rod can be useful if you plan to hang both sheer and heavy curtains.
Step 7: Attach the Curtains
Slide the curtains onto the rod or attach them using curtain rings or hooks. If your curtains have grommets, simply slide the rod through them. For a pleated look, use curtain rings with clips.
Step 8: Adjust the Curtains
Once the curtains are hung, adjust them so they fall evenly and cover the window properly. Ensure they are the desired length and open and close smoothly. A set of curtain tiebacks can help keep your curtains neatly drawn when open.
Step 9: Add Finishing Touches
Enhance your curtain setup with decorative touches like finials for the curtain rod ends or tiebacks for a polished look.
Step 10: Maintain Your Curtains
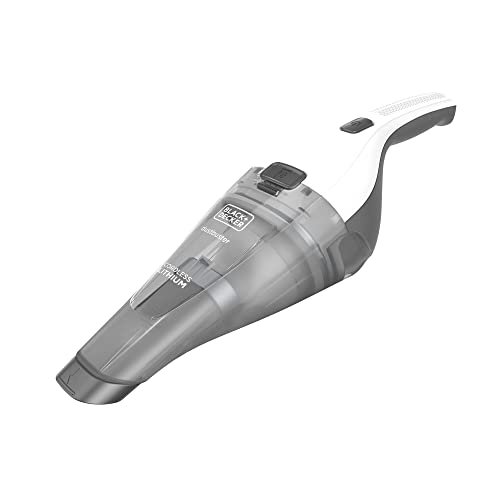
Regularly clean your curtains according to the fabric care instructions to keep them looking fresh. Using a handheld vacuum can help remove dust and debris without taking the curtains down.
- 1 BRAND IN HAND VACS
- OPTIMAL PERFORMANCE - Lithium-ion battery provides high power suction and performance
- CORDLESS CONVENIENCE - Portable, rechargeable, + lightweight for use around your home and in your...
By following these steps and using the right tools and accessories, you can easily hang your curtains and enhance the look and functionality of any room in your home.


