Understanding Split Screen Photo Ideas
In the world of interior design and architecture, creativity knows no bounds. One of the most exciting trends sweeping the design community is the use of split screen photo ideas. This innovative approach not only enhances visual storytelling in your space but also introduces a dynamic element that can transform a room’s aesthetic. Let’s dive into how you can embrace this trend in your home.
What Are Split Screen Photo Ideas?
Split screen photography divides an image into two or more segments, showcasing contrasting elements or cohesive themes side by side. This technique can be used to highlight various aspects of a room, tell a story, or juxtapose different styles.
Why Use Split Screen Photos?
– Visual Impact: They capture attention immediately and create a focal point.
– Narrative Depth: You can convey a richer story or theme through contrasting images.
– Versatility: Applicable in various design styles, from modern to rustic.
7 Inspiring Ways to Embrace Split Screen Photo Ideas in Your Space
Here are some creative ways to incorporate split screen photos into your interior design projects:
1. Gallery Walls with a Twist
Transform a traditional gallery wall by incorporating split screen frames.
Tip: Use frames of different sizes and orientations to add visual interest.
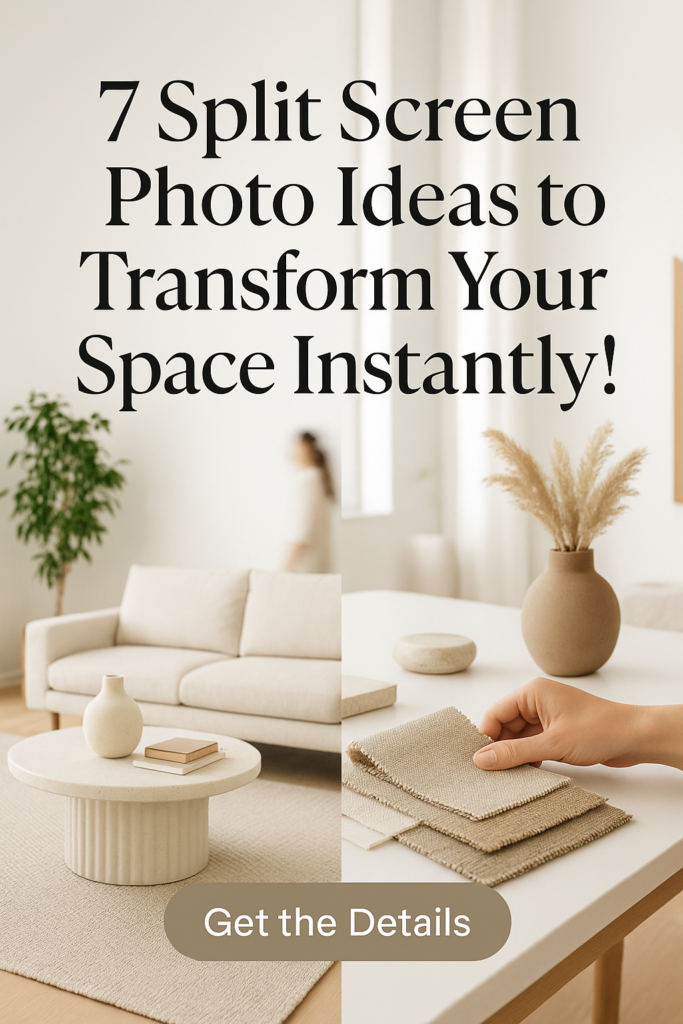
Example: Pair a close-up of a textured fabric with an image of the entire room featuring that fabric.
2. Feature Walls with a Story
Design a feature wall that tells a story through split screen photography.
Tip: Use images that represent different seasons or times of day in the same location.
Example: A split image of your garden in spring alongside the same view in winter.
3. Contrasting Styles
Showcase the beauty of contrasting styles side by side.
Tip: Use a split screen to show modern furniture against a vintage backdrop.
Example: Pair a sleek modern chair with an antique side table.
4. Before and After Transformations
Document your design journey with before-and-after split screen photos.
Tip: This is particularly effective for renovations or room makeovers.
Example: Capture the transformation of your living room from cluttered to chic.
5. Mood Boards
Create a split screen mood board that visually represents your design vision.
Tip: Combine textures, colors, and images of furniture and decor that inspire you.
Example: One half can display color swatches while the other shows potential furniture choices.
6. Lifestyle and Detail Shots
Pair lifestyle shots with detail images to create a narrative around your design.
Tip: Use one side for a wide-angle shot of the room and the other for close-ups of decorative elements.
Example: A cozy reading nook can be shown with a photo of the entire space and a detailed shot of your favorite book and throw.
7. Seasonal Decor Changes
Show how your space evolves with the seasons using split screen photos.
Tip: Capture the same corner of your home decorated for different seasons.
Example: One side can feature autumn leaves and pumpkins, while the other showcases spring flowers.
Practical Tips for Implementing Split Screen Photos
– Choose a Theme: Decide on the story or theme you want to convey through your images.
– Keep it Cohesive: Use images that share a color palette or style to ensure a harmonious look.
– Quality Matters: Invest in high-quality photos that will stand out, especially if you plan to frame and display them.
– Experiment with Layouts: Don’t be afraid to try different arrangements until you find what feels right for your space.
DIY Split Screen Photo Projects
Creating your own split screen photos can be a fun and rewarding project. Here’s how to get started:
Materials Needed
Camera or smartphone with a good camera
Editing software or apps (like Canva or Adobe Photoshop)
- Frames or canvas for display
- Select Your Subject: Choose images that are in harmony or contrasting.
- Capture Your Photos: Take several shots, experimenting with angles and lighting.
- Edit Your Images: Use editing software to create a split-screen effect.
- Print and Frame: Choose a stylish frame that complements your home decor.
- Display with Purpose: Hang your split screen artwork where it’ll be appreciated!
Steps to Create Your Own Split Screen Photos
Conclusion
Incorporating split screen photo ideas into your interior design can dramatically enhance the visual narrative of your space. Whether you opt for a gallery wall, a feature piece, or a DIY project, these stunning visuals can transform how you and your guests experience your home.
So, gather your favorite images and start experimenting! The world of split screen photography awaits, and it’s time to let your creativity shine. Happy decorating!