Embrace Nature: The DIY Bird Bath Trend for Your Outdoor Space
As we seek to enhance our living spaces and connect with nature, the DIY bird bath trend has taken center stage in the world of outdoor decor. Not only do these charming installations attract beautiful feathered friends, but they also add an elegant touch to your garden, patio, or balcony. In this guide, we’ll explore how to create your own bird bath, the materials you can use, and some stunning design ideas that will inspire you to get started.
Why a Bird Bath?
Bird baths serve several essential purposes:
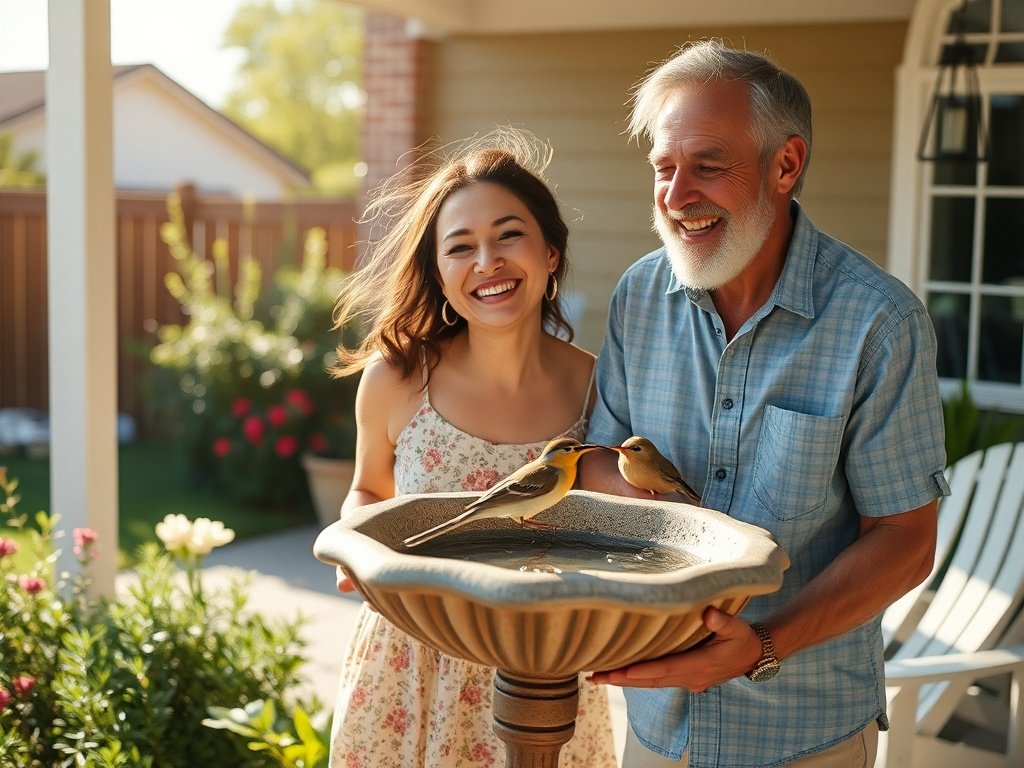
Turn Your Patio Into a Bird Sanctuary
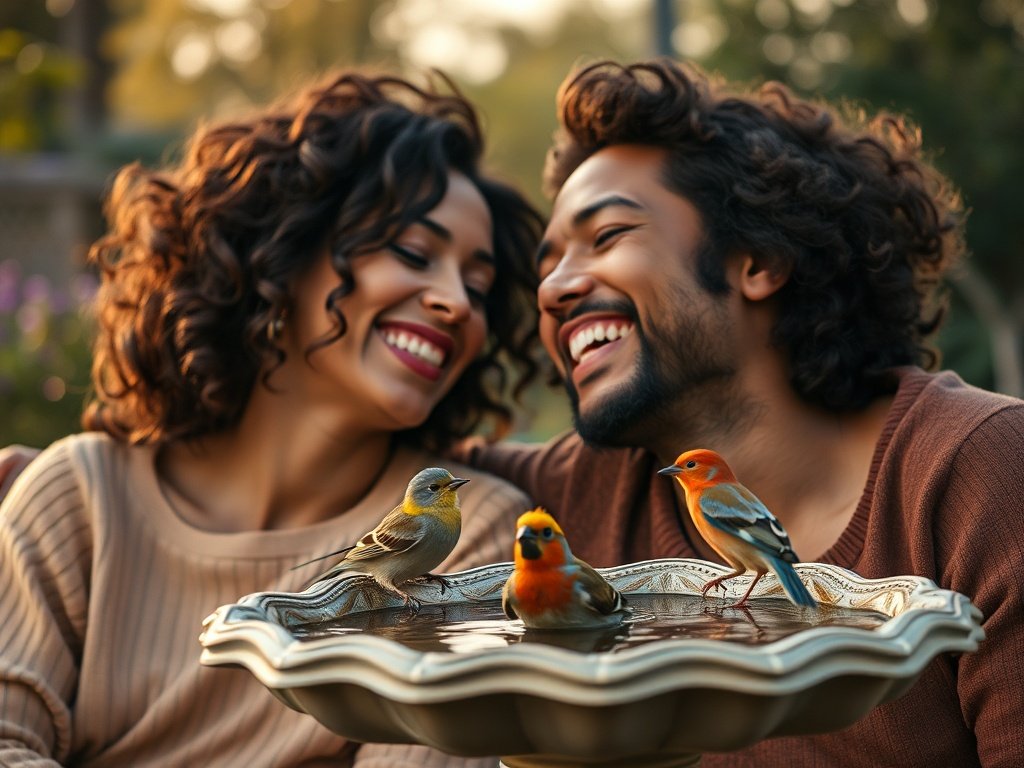
Upgrade to a Fountain-Worthy Bird Bath

Make It Look Custom with a Stone Finish
Attract Wildlife: They provide a reliable water source for birds, which is crucial for their survival.
Enhance Your Garden: A well-placed bird bath can become a stunning focal point in your outdoor space.
Encourage Biodiversity: Attracting various bird species helps maintain a healthy ecosystem in your garden.
Relaxation and Enjoyment: Watching birds bathe and drink can be a wonderfully calming experience.
Getting Started: Materials and Tools
Before diving into your DIY project, gather the necessary materials and tools. Here’s what you’ll need:
Essential Materials
- Container: This could be a shallow bowl, a ceramic dish, or even a repurposed item like an old bicycle wheel.
- Base: Consider using bricks, stones, or a wooden pedestal to elevate your bird bath.
- Water Source: You’ll need a way to fill the bath with fresh water—this could be a hose or a rainwater collection system.
- Decorative Elements: Optional features can include pebbles, plants, or mosaics for added aesthetics.
- Arrange them in a stable configuration, ensuring a solid foundation.
- Use a level to make sure your base is even.
- If using a bowl or dish: Make sure it’s shallow (2-3 inches deep) to provide a safe bathing space for birds.
- If repurposing an item: Clean and sand any rough edges to protect the birds.
- Place the container on top of the base.
- If necessary, secure it with adhesive or screws to prevent tipping.
Tools Required
Drill (if needed for drainage holes)
Sandpaper (for smoothing edges)
Paint or sealant (to protect against the elements)
Step-by-Step Guide to Creating Your DIY Bird Bath
Step 1: Choose Your Location
Select a spot that is easily visible from your home. Look for a place that:
Receives sunlight during the day
Is sheltered from strong winds
Has nearby trees or shrubs for birds to perch safely
Step 2: Prepare the Base
If you’re using stones or bricks for the base:
Step 3: Select and Prepare the Container
Depending on your chosen container:
Step 4: Assemble the Bird Bath
Step 5: Add Water
Fill your bird bath with fresh water. Change the water regularly to keep it clean and appealing to birds.
Step 6: Decorate (Optional)
Enhance the beauty of your bird bath by adding:
Pebbles: Scatter them around the base for decoration and to provide texture.
Plants: Use potted plants or surrounding flowers that attract birds.
Mosaics: Create a colorful pattern on the container using tiles or glass pieces.
Step 7: Observe and Enjoy
Now that your DIY bird bath is complete, enjoy the sights and sounds of your new feathered visitors! Consider keeping a journal to note the different species that visit.
Creative Bird Bath Ideas to Inspire You
If you’re looking for inspiration, here are some unique ideas for your DIY bird bath:
1. Rustic Wooden Bath
Use a large wooden bowl set on a tree stump for a charming rustic look. This natural aesthetic blends beautifully with outdoor environments.
2. Mosaic Masterpiece
Create a stunning mosaic design on a ceramic or concrete bowl. Use colorful tiles to form patterns or images that reflect your personality.
3. Hanging Bird Bath
For a whimsical touch, hang a shallow bowl from a tree branch using sturdy rope. This offers a unique perspective for birds and makes a great outdoor centerpiece.
4. Upcycled Beauty
Transform an old cooking pot, sink, or even a tire into a bird bath. This eco-friendly approach not only saves resources but adds character to your yard.
5. Multi-Tiered Delight
Build a multi-tiered bird bath using various containers stacked at different heights. This creates visual interest and accommodates various bird sizes.
Tips for Maintaining Your Bird Bath
To keep your bird bath attractive and safe for birds:
Clean Regularly: Scrub the container with a mixture of vinegar and water every few weeks to prevent algae growth.
Monitor Water Levels: Check daily and refill as needed, especially during hot weather.
Seasonal Adjustments: In winter, consider using a heater or removing the bath to prevent freezing.
Conclusion
Creating a DIY bird bath is a rewarding project that enhances your outdoor space while supporting local wildlife. With a few simple materials and a bit of creativity, you can design an attractive bird bath that invites nature into your home.
So gather your tools, unleash your creativity, and enjoy the beauty and tranquility that comes from watching birds visit your very own oasis. Happy crafting!