Introduction to Clay Magnets: A Creative DIY Trend
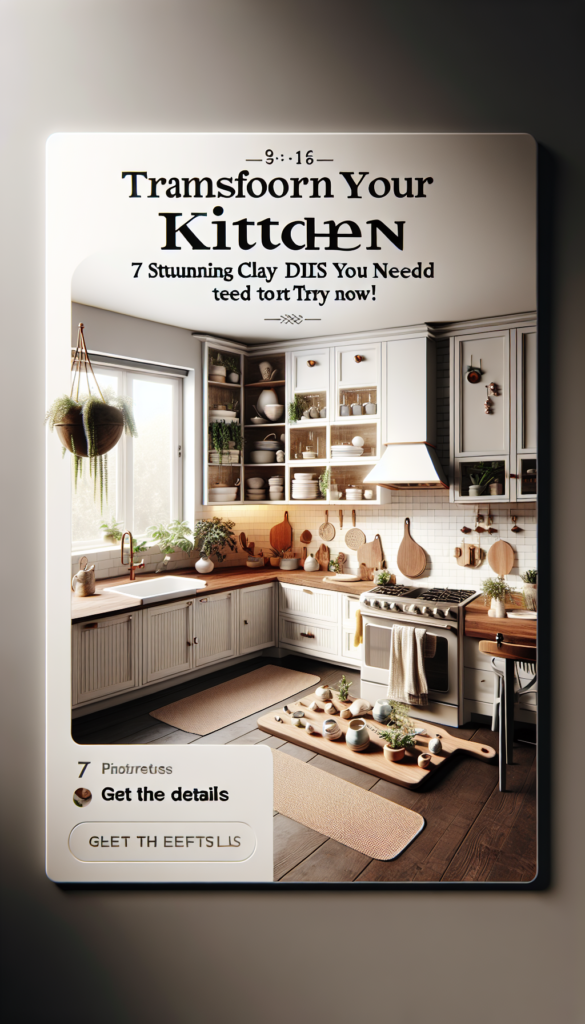
If you’re looking to add a personal touch to your kitchen decor, clay magnets could be your new best friend. These charming, customizable pieces not only serve a practical purpose but also offer an opportunity to infuse your fridge with character and creativity. In this guide, we’ll explore how to craft your own clay magnets, inspiring ways to incorporate them into your home, and tips to make them truly Pinterest-worthy.
The Allure of Clay Magnets
Why Choose Clay?
Versatility: Clay is an incredibly adaptable medium. You can mold it into virtually any shape or form, making it perfect for creating unique designs that reflect your personal style.
Durability: Once hardened, clay becomes a sturdy material that can withstand everyday use.
Aesthetic Appeal: The natural texture and finish of clay lend an artisanal touch that enhances any kitchen space.
The DIY Advantage
Creating clay magnets allows you to tailor designs specifically to your tastes and preferences. Whether you’re a minimalist at heart or a lover of vibrant colors and intricate patterns, you can craft magnets that resonate with your aesthetic.
Creating Your Own Clay Magnets: A Step-by-Step Guide
Materials You’ll Need
- Polymer clay in your choice of colors.
- Magnets – small, strong magnets work best.
- Clay tools – such as sculpting tools or a simple knife.
- Rolling pin or any cylindrical object to flatten clay.
- Baking sheet and parchment paper for baking.
- Super glue for attaching magnets to clay.
- Prepare Your Workspace:
- Shape Your Clay:
- Add Texture and Details:
- Bake Your Creations:
- Attach the Magnets:
- Display and Enjoy:
- Use strong adhesive to ensure the magnets stay firmly attached.
Step-by-Step Instructions
Lay out all your materials on a clean, flat surface.
Preheat your oven according to the polymer clay package instructions.
Use the rolling pin to flatten the clay to about 1/4 inch thickness.
Cut out shapes using sculpting tools or cookie cutters.
Imprint patterns using stamps or household items like forks or leaves for a natural look.
Mix colors to create marbled effects or intricate designs.
Place your clay shapes on a baking sheet lined with parchment paper.
Bake according to the instructions, typically around 15-30 minutes.
Once cooled, use super glue to attach magnets to the back of each clay piece.
Adorn your fridge with your new creations and enjoy the personal touch they bring to your kitchen.
Inspiring Ways to Use Clay Magnets
1. Functional Art
Transform your fridge into a gallery with clay magnets that double as miniature artworks. Create sets inspired by themes such as nature, modern art, or geometric patterns.
2. Organizational Tools
Use alphabet or number-shaped magnets to spell out messages or reminders.
Craft magnets with built-in hooks for hanging keys or lightweight kitchen tools.
3. Seasonal Decor
Switch up your clay magnets to reflect the changing seasons or holidays. Think pumpkins for fall, snowflakes for winter, or flowers for spring.
4. Personalized Gifts
Handmade clay magnets make thoughtful gifts. Customize them with initials, favorite colors, or personal motifs that hold special meaning for the recipient.
5. Educational Elements
Create educational sets for children, such as letters, numbers, or shapes, to encourage learning and play.
Expert Tips for Creating Clay Magnets
Choosing the Right Clay
Opt for polymer clay for its ease of use and vibrant color options.
Consider air-dry clay if you prefer not to bake, though it may be less durable.
Perfecting Your Technique
Condition your clay by kneading it before shaping to ensure a smooth finish.
Experiment with textures using a variety of household objects to imprint unique patterns.
Ensuring Longevity
Seal your finished magnets with a clear varnish to protect them from moisture and wear.
Conclusion
Crafting clay magnets is a delightful way to express your creativity while enhancing your home’s decor. From functional pieces to decorative accents, these DIY creations can transform even the most ordinary space into something extraordinary. Whether you’re crafting for yourself or making gifts for loved ones, the possibilities with clay magnets are truly endless. So, gather your materials, unleash your artistic side, and start creating your own beautifully unique clay magnets today.