Fluffing your Christmas tree is essential for achieving that full and festive look. Follow these steps to fluff your tree like a professional decorator.

1. Start from the Bottom
Begin by separating the branches at the bottom of the tree. Ensure each branch is spread out and away from the center pole. Work your way up, one section at a time, to ensure even fluffing throughout.
Christmas Tree Storage Bag – Keeps your tree safe and dust-free when not in use.
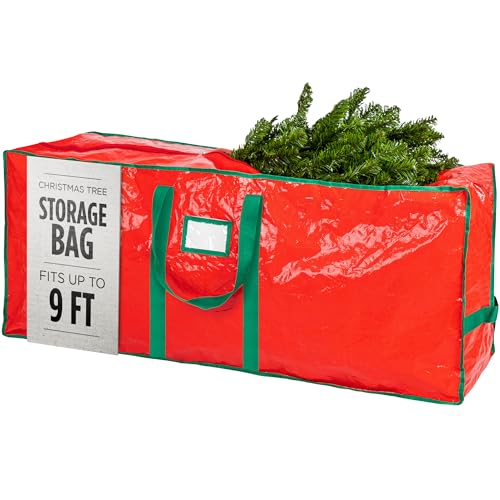
- SPACIOUS DESIGN: Designed to accommodate trees up to 9 feet, with room left over for additional...
- EASY TO USE: Features a double-pull zipper for easy access and loading, as well as multiple sturdy...
- HIGH-QUALITY: Made from sturdy, tarp-like material that retains its shape even when filled, ensuring...
2. Shape Each Branch
Individually shape each branch to give it a natural appearance. Bend and spread the smaller branches away from the main branch to fill in gaps and create a fuller look. Be patient, as this step can take some time.
Gloves for Tree Shaping – Protect your hands while fluffing and shaping the tree.

- ULTRA STRONG WORK GLOVES - Pine Tree Tools yard work gloves and gardening gloves provide ultimate...
- ADVANCED HAND PROTECTION - These work gloves for men have been specially designed using cutting-edge...
- LIGHT, COOL & BREATHABLE - Forget the clumsy, clunky, and sweaty style of work gloves you get with...
3. Fluff the Tips
Focus on the tips of each branch to give the tree a lush appearance. Gently pull and spread each tip to make the tree look fuller. Pay special attention to the outermost tips, as they are the most visible.
LED String Lights – Add a warm glow to your tree with these easy-to-use string lights.
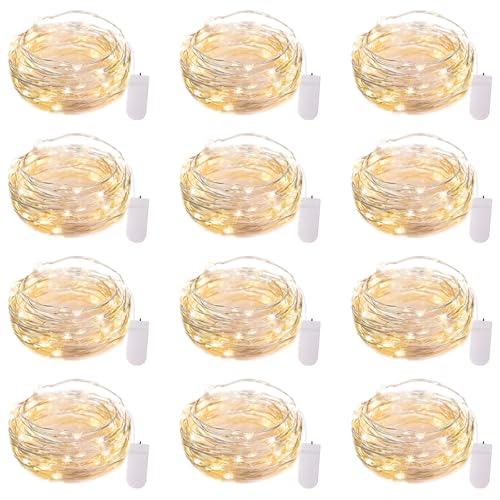
- 【 12 Pack Battery Operated LED Fairy Lights 】- Powered by 2 CR2032 batteries (included), the 7...
- 【 7ft Flexible Silver Wire 】- The starry moon fairy lights are made of a soft bendable silver...
- 【 Long-Lasting Battery Life 】- Crafted with high-quality strong silver wire and energy-efficient...
4. Fill in Gaps
After shaping all the branches, step back and look for any gaps. Fill these spaces with smaller branches or artificial greenery to maintain a consistent, full appearance throughout the tree.
Artificial Greenery Picks – Perfect for filling gaps and adding extra texture to your tree.

- [Christmas Decoration Picks]:20pcs Artificial Pine Picks are mixed green pine needles, two pinecones...
- [Premium Material]:Each of Christmas Pine Picks is attached firmly to an elegant&realistic brown...
- [Size Reference]:The size of each Red Berry Pine Branches is about 3.5inch/9cm in height, nicely...
5. Add Decorations
Once your tree is fully fluffed, it’s time to add decorations. Start with lights, then add garlands, and finish with ornaments. Distribute decorations evenly for a balanced and festive look.
Shatterproof Ornaments Set – Durable and beautiful ornaments that are safe for families with kids and pets.

- 🎄【Christmas Assorted Ornaments Set】The design is inspired by the classic collection splendor...
- 🎄【Exquisite Craftsmanship】Christmas tree ornaments includes various special finishes: shiny,...
- 🎄【Premium Quality】These shatterproof Christmas ball ornaments are made of thicker and...

Conclusion
Fluffing your Christmas tree can make a significant difference in its appearance. By taking the time to properly shape and fill out each branch, you’ll create a beautiful and festive centerpiece for your holiday decor. Happy decorating!