Installing a tile floor can transform the look of your space and add durability. Follow these steps to install a tile floor like a pro.

Step 1: Prepare the Subfloor
Ensure the subfloor is clean, dry, and level. Remove any old flooring and repair any damage. Sweep and vacuum the area to remove all debris.
Step 2: Gather Your Tools and Materials
Collect all necessary tools and materials, including tile, mortar, trowel, tile spacers, tile cutter, grout, grout float, and a level. The QEP 10630Q 24-Inch Manual Tile Cutter is a great tool for making precise cuts.

- Multipurpose cutter for most large format tile including ceramic and porcelain
- Side arm extensions to support large format tiles
- Ball bearing slide for smooth scoring
Step 3: Plan Your Layout
Plan the layout of your tiles by dry-fitting them on the floor. Start from the center and work your way out to ensure an even layout. Use tile spacers to maintain consistent gaps between tiles.
Step 4: Mix and Apply Mortar
Mix the mortar according to the manufacturer’s instructions. Use a notched trowel to spread the mortar evenly on the subfloor, working in small sections. The Red Devil 0497 Tile Paste Adhesive is a reliable option for strong adhesion.
Step 5: Lay the Tiles
Lay the tiles onto the mortar, pressing firmly. Use tile spacers to keep the gaps even. Check the level of the tiles as you go, and adjust if necessary. Allow the mortar to set according to the manufacturer’s instructions before proceeding to the next step.
Step 6: Cut Tiles to Fit
Measure and cut tiles to fit along the edges and around obstacles. Use a tile cutter for straight cuts and a tile nipper for curves and notches. Make sure to wear safety goggles while cutting tiles.
Step 7: Apply Grout
Once the mortar is fully set, remove the tile spacers and mix the grout according to the manufacturer’s instructions. Use a grout float to spread the grout over the tiles, pressing it into the gaps. The Gorilla Waterproof Polyurethane Glue is useful for filling any larger gaps and ensuring a solid finish.

- Our original bottle of glue: A heavy duty glue with a water activated polyurethane formula that...
- 100% waterproof: When cured, this waterproof glue doesn't break down when exposed to the elements
- All purpose glue: Our original liquid glue easily bonds wood, stone, metal, ceramic, foam, glass,...
Step 8: Clean the Tiles
After applying the grout, use a damp sponge to wipe away excess grout from the surface of the tiles. Rinse the sponge frequently and be careful not to remove grout from the gaps. Allow the grout to cure according to the manufacturer’s instructions.
Step 9: Seal the Grout
Once the grout has cured, apply a grout sealer to protect it from stains and moisture. Use a small brush to apply the sealer evenly and wipe away any excess. The Aqua Mix Sealer’s Choice Gold is an excellent option for long-lasting protection.
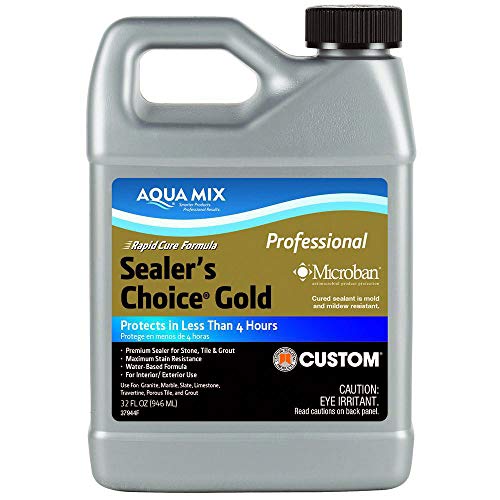
- Premium Sealer for Stone, Tile and Grout Maximum stain resistance Water-based formula For interior...

Step 10: Enjoy Your New Tile Floor
Allow the sealer to dry completely before using the floor. Enjoy the beauty and durability of your newly installed tile floor!